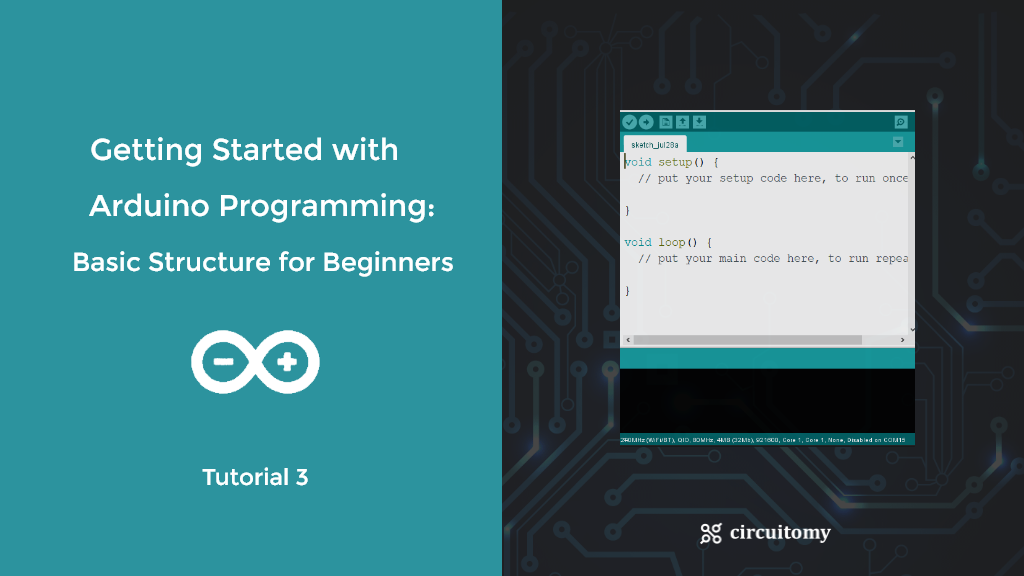
The Arduino IDE (Integrated Development Environment) is a tool that lets you write instructions, called code, and send them to different Arduino boards to control them. The code is written in a simple language that’s easy to learn, similar to C and C++, making it accessible even for beginners.
Getting started with Arduino programming involves understanding a few basic concepts.
Brackets
There are two types of brackets used in the Arduino coding, which are listed below:
- I) Parentheses ( )
- II) Curly Brackets { }
Parentheses ()
Parentheses are used to group arguments in methods, functions, or code statements. They are also commonly used to organize mathematical equations and logical expressions, making the code easier to read and understand.
Curly Brackets { }
The statements in the code are enclosed in the curly brackets. We always require closed curly brackets to match the open curly bracket in the code or sketch.
Open curly bracket- ‘ { ‘
Closed curly bracket – ‘ } ‘
Arduino Comments
In Arduino programming, comments are notes in your code that are ignored by the computer but help you or others understand what the code does.
Single-line comments start with // and are used for brief notes.
Multi-line comments start with /* and end with */, useful for longer explanations.

When you start programming with Arduino, you’ll quickly encounter two main functions: setup( ) and loop( ). Understanding these functions is crucial because they form the core structure of any Arduino program, also known as a “sketch.”
Basic Structure of an Arduino Program
Every Arduino sketch has two required functions:
- setup()
- loop()
Here’s what the simplest Arduino program looks like:

The setup( ) Function
Purpose: The setup( ) function runs once when the Arduino is powered on or reset. It’s used to initialize variables, pin modes, start using libraries, etc.
Example: If you want to set up a pin as an output (like for an LED), you do this in the setup( ) function.
void setup() {
  // initialize digital 13 as an output.
  pinMode(13, OUTPUT);
}
The loop( ) Function
Purpose: The loop( )the function runs continuously after the setup() function has finished. The code inside loop( ) is executed over and over, allowing your program to change and respond.
Example: To blink an LED, you can write the code inside the loop( ) function.
void loop() {
  digitalWrite(13, HIGH);   // turn the LED on (HIGH is the voltage level)
  delay(1000);                       // wait for a second
  digitalWrite(13, LOW);    // turn the LED off by making the voltage LOW
  delay(1000);                       // wait for a second
}
Putting It All Together
Here’s a complete example that blinks an LED connected to pin 13 :
// the setup function runs once when you press reset or power the board
void setup() {
  // initialize digital pin 13 as an output.
  pinMode(13, OUTPUT);
}

// the loop function runs over and over again forever
void loop() {
  digitalWrite(13, HIGH);   // turn the LED on (HIGH is the voltage level)
  delay(1000);                       // wait for a second
  digitalWrite(13, LOW);    // turn the LED off by making the voltage LOW
  delay(1000);                       // wait for a second
}