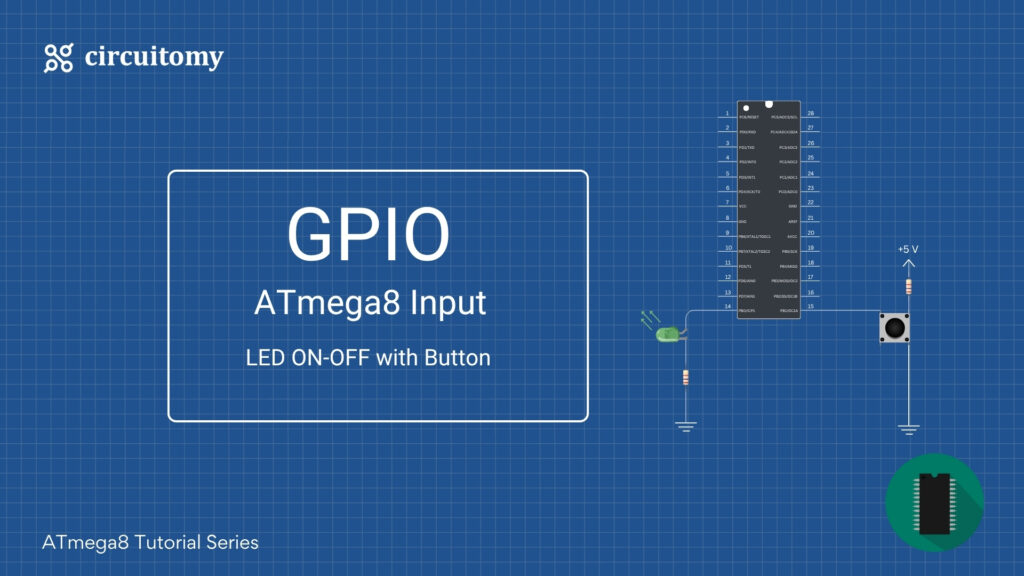
Today, we will learn how to interface a push button with the Atmega8 microcontroller using a hardware pull-up resistor. This project will help you understand how microcontrollers read button inputs.
Let’s break everything down in a simple way!
A push button is a simple switch that connects or disconnects the circuit when you press it. Microcontrollers like Atmega8 can detect when the button is pressed or released.
Before jumping into the next topic, we learn about the pull-up and pull-down resistor.
Pull-up and pull-down resistors ensure that a digital input pin of a microcontroller or logic circuit is in a defined state (either high or low) when no active signal is applied.
1. Pull-Up Resistor:
• What it does: A pull-up resistor pulls the input pin to a HIGH state (logic 1) when no other active voltage is present on the pin.
• When to use: Use a pull-up resistor when you want the default state of the input pin to be HIGH, and you want it to go LOW (0) only when the switch or button is pressed, which connects the pin to GND.
• Example use case:
• Push Button: The pin stays HIGH when the button is not pressed, and when the button is pressed, the pin is connected to GND (LOW state).
• Why use pull-up: It ensures the pin doesn’t float and cause erratic behavior when the button is not pressed.
2. Pull-Down Resistor:
• What it does: A pull-down resistor pulls the input pin to a LOW state (logic 0) when no other active voltage is present on the pin.
• When to use: Use a pull-down resistor when you want the default state of the input pin to be LOW, and you want it to go HIGH (1) only when the switch or button is pressed, which connects the pin to VCC (HIGH state).
• Example use case:
• Push Button: The pin stays LOW when the button is not pressed, and when the button is pressed, the pin is connected to VCC (HIGH state).
• Why use pull-down: It ensures the pin is not floating and stays in a low state when the button is not engaged.
Fig: Pull-up and Pull-down Configuration.
Now Back to the Topic
Microcontrollers can’t always tell if the button is pressed or not without some help. That’s where pull-up or pull-down resistors come in.
In this tutorial we use a pull-up resistor ensures the input pin always stays at HIGH (1) when the button is not pressed. When you press the button, the pin becomes LOW (0).
Components Required:
• Atmega8 Microcontroller
• Push Button
• 10kΩ Resistor (Hardware Pull-Up)
• Breadboard
• Jumper Wires
• Power Supply (5V)
• LED (optional, for visual feedback)
• 220Ω Resistor (if using LED)
• AVR programmer (USBasp or similar) for uploading code to the Atmega8
Programming Diagram
Circuit Diagram
| ATmega8 Pin | Connection |
| PB0 (Pin 14) | LED Anode |
| GND | LED Cathode (through 220Ω resistor) |
| PB1(Pin 15) | Button with pull-up Configuration |
Code:
#define F_CPU 12000000UL  // Set to your microcontroller's clock speed
#include <avr/io.h>
#include <util/delay.h>   // Include delay library

int main(void)
{
 // Set PB0 as output (LED)
 DDRB |= (1 << PB0);
 // Set PB1 as input (Button)
 DDRB &= ~(1 << PB1);
 // Enable pull-up resistor on PB1
 PORTB |= (1 << PB1);

 while (1) {
	 // Check if the button is pressed (LOW because of pull-up)
	 if (!(PINB & (1 << PB1))) {
		 // Turn on the LED
		 PORTB |= (1 << PB0);
		 } else {
		 // Turn off the LED
		 PORTB &= ~(1 << PB0);
	 }

 }
}Code Breakdown
- • DDRB &= ~(1 << PB1); → Set PB1 as input pin.
- • DDRB &= ~(1 << PB0); → Set PB0 as output pin.
- • PORTB |= (1 << PB1); → Activate internal pull-up resistor.
- • if (!(PIND & (1 <<PB1))) → Check if the button is pressed.
- • PORTB |= (1 << PB0); → Turn ON LED.
- • PORTB &= ~(1 << PB0); → Turn OFF LED.
Now let’s upgrade our Atmega8 push button tutorial by adding button debouncing! 🛑🔘
What is Button Debouncing?
When you press a button, it doesn’t just go from ON to OFF smoothly. The button’s metal contacts may bounce several times, causing the microcontroller to detect multiple presses even if you pressed the button only once.
Without debouncing, your LED might flicker or turn ON and OFF quickly — which is not what we want.
How to Fix This?
The solution is button debouncing — waiting a little bit of time (a few milliseconds) to ignore unwanted bounces.
How Debouncing Works?
- 1. When the button is detected as pressed (LOW), wait for 20-50 milliseconds.
- 2. Check the button state again.
- 3. If the button is still pressed, register it as a valid press.
Updated Code with Debouncing
#define F_CPU 12000000UL  // 12 MHz clock speed
#include <avr/io.h>
#include <util/delay.h>   // Delay library

void debounce(void) {
    _delay_ms(50);                   // 50ms debounce delay
}

int main(void)
{
    // Set PB0 as output (LED)
    DDRB |= (1 << PB0);
    // Set PB1 as input (Button)
    DDRB &= ~(1 << PB1);
    // Enable pull-up resistor on PB1
    PORTB |= (1 << PB1);

    while (1) {
        // If button is pressed (LOW)
        if (!(PINB & (1 << PB1))) {
            debounce();              // Call debounce function
            if (!(PINB & (1 << PB1))) { // Check again after debounce delay
                PORTB |= (1 << PB0); // LED ON
            }
        } else {
            PORTB &= ~(1 << PB0);    // LED OFF
        }
    }
}Code Breakdown
1. Button press detected (LOW signal).
2. Wait 50ms using the debounce() function.
3. If the button is still pressed → LED ON.
4. If button is released → LED OFF.
